
Get started: plan your first sprint
This walks through one complete sprint plan, from opening Capacity Compass for the first time to a finished plan you can commit to. It takes about ten minutes.
Before you begin: You need the Administer projects permission on the Jira project. You also need a Scrum board with a sprint that has not started yet, and that sprint needs start and end dates in Jira.
Step 1: Open Capacity Compass
- Open your Jira software project.
- In the project sidebar, select Board Planning.
The Capacity planning screen opens. The first time, it shows the next sprint that is ready to plan. Once a board has plans, it lists them instead, as below.
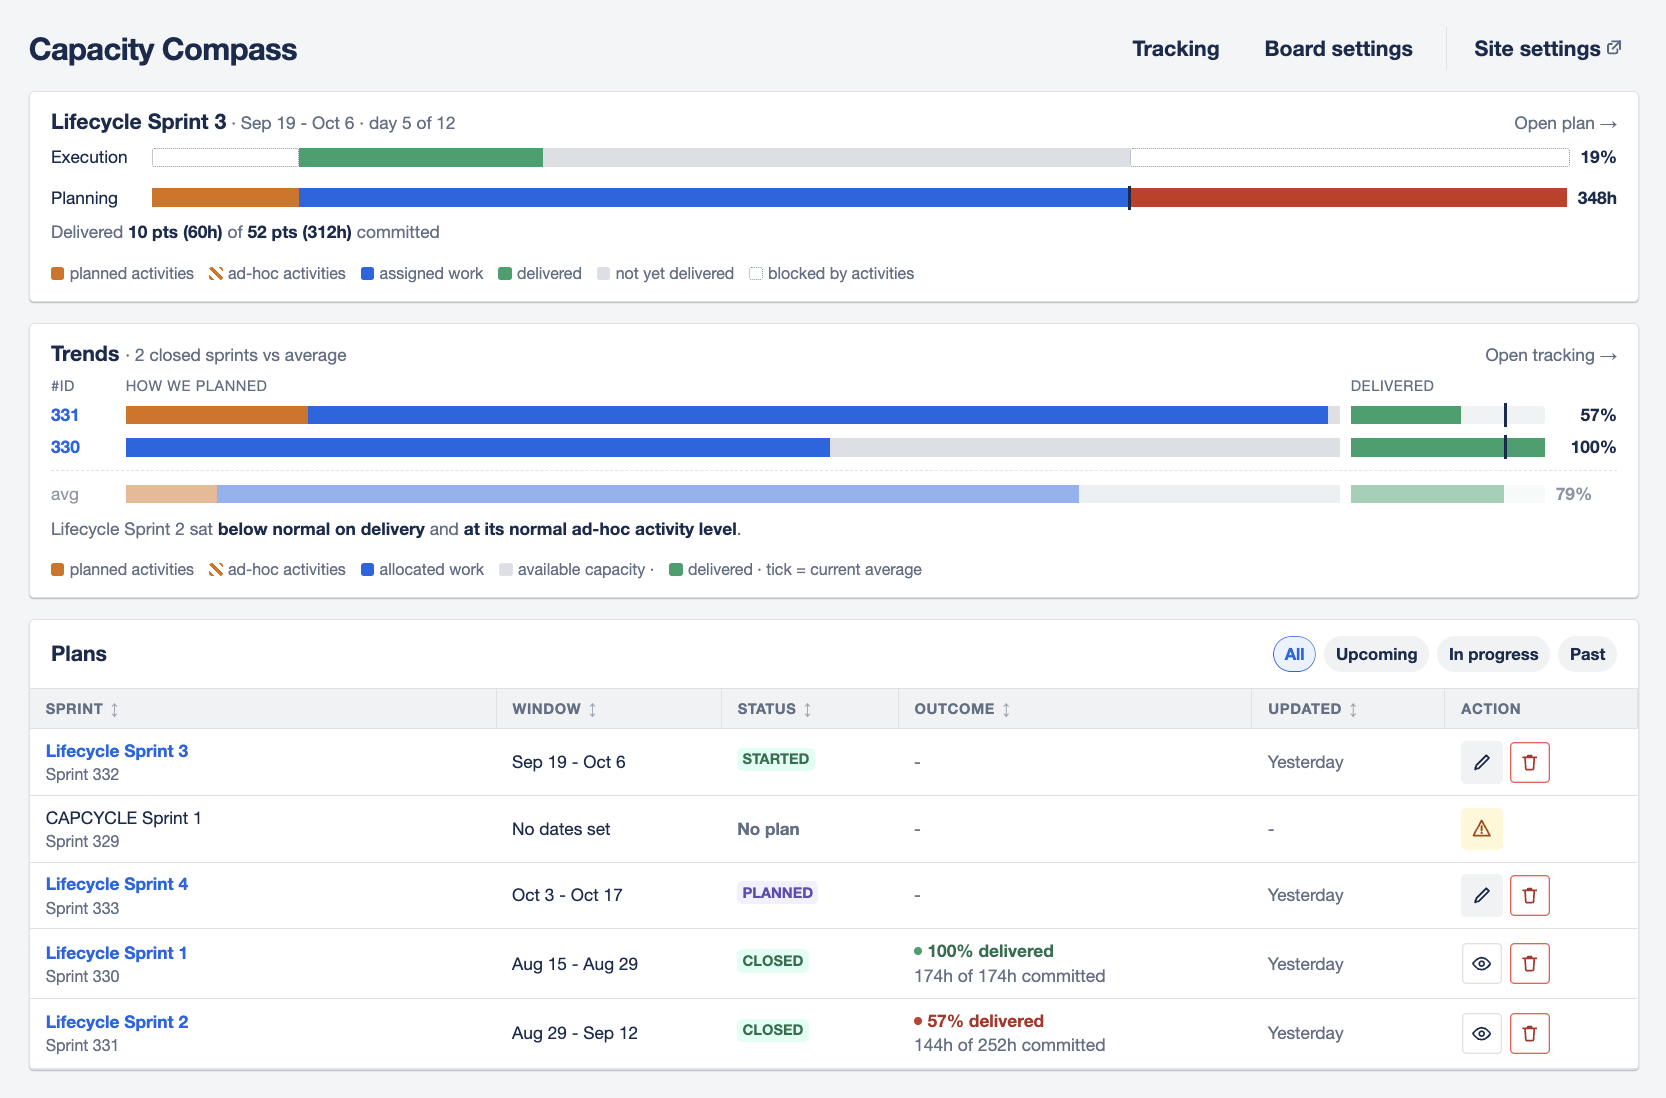
If you see Connect a Scrum board to get started instead, the project has no Scrum board available to plan, or its boards have been disabled. See Troubleshooting.
Step 2: Start the plan
- Select Start capacity planning.
Plan setup opens, already filled in with your board's defaults.
Step 3: Confirm the sprint
Under What are we planning?, check that the sprint in the Sprint list is the one you want. The dates and the number of work days appear underneath it.
Only sprints that have not started, or that started within the last day, can be planned. A capacity plan records what a team committed to before the work began, so Capacity Compass will not create one for a sprint already under way.
Step 4: Add your team
Under Who's on this plan?, search for each person and select them.
Only members of the Jira project appear in the search. If someone is missing, add them to the project in Jira first, then search again.
This step is optional at this stage. You can add people later on the plan board.
Step 5: Check the estimate settings
Under Estimates, Capacity Compass needs to know two things.
Estimate source field is the Jira field holding each issue's planned effort. If your board already has one configured, it is filled in and tagged Default.
How do you want to plan your estimates? lets you choose Story points or Hours. If you choose story points, pick a Story point → hours conversion so Capacity Compass can turn points into hours.
Step 6: Create the plan
- Select Create plan.
If the button is not available, a line beneath it says what is missing. Fix that and it becomes available.
The plan board opens.
Step 7: Set the team's hours
The Capacity settings panel holds two numbers that seed everyone's hours: Working days and Default hours per day.
- Select Edit.
- Adjust the two numbers if they are wrong for this sprint.
- Select Save.
Do this before adjusting anyone individually. Saving Capacity settings resets every member's gross capacity to working days multiplied by hours per day, which overwrites individual changes. Set these two numbers first, then adjust people in the Team panel.
Step 8: Adjust individual hours
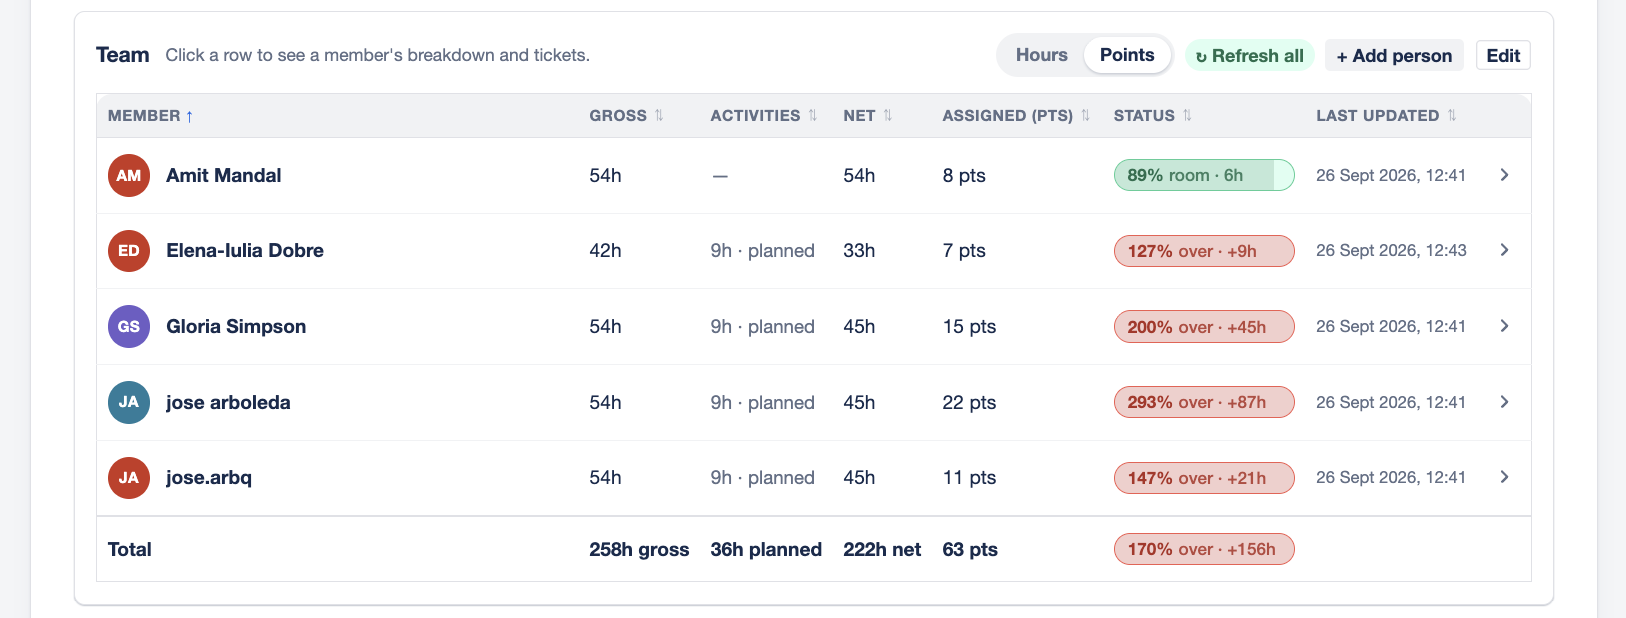
In the Team panel, select Edit, then change the Gross figure for anyone who is not available for the full sprint. Select Save when you are done.
You can also ask people to report their own availability instead. See Check your own availability.
Step 9: Check the meetings
Scroll to Repeating activities. Your board's standing meetings are already listed, along with who attends each one. Adjust the hours or the attendees if they are wrong for this sprint.
Add anything unusual under Ad-hoc activities: a conference, a company day, an interview loop.
Step 10: Read the verdict
Scroll back to the top. The verdict states, in words, whether the sprint is a safe commitment, along with the percentage of workable time you have planned.
If it says the plan is over capacity or nearly full, you have found the over-commitment before you made it. Move work out of the sprint in Jira, or reduce what you are committing to.
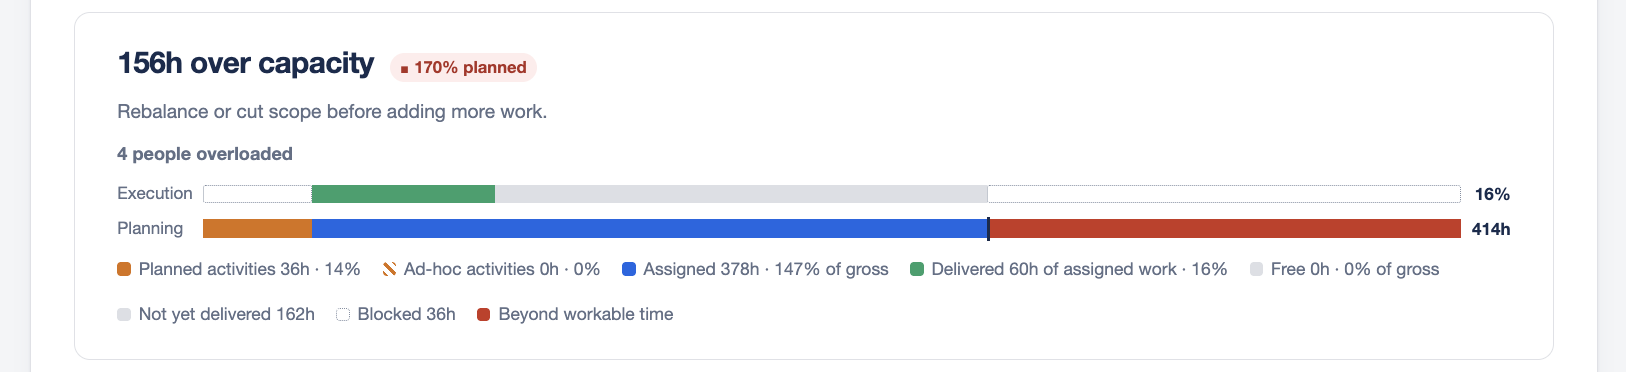
That is a complete plan. Understand your capacity result explains each verdict and what to do about it.
What next
- Ask your team to report their own hours: Check your own availability
- Set board defaults so the next plan needs less work: Board settings
- After the sprint closes, see how it went: Track how your sprints are going